
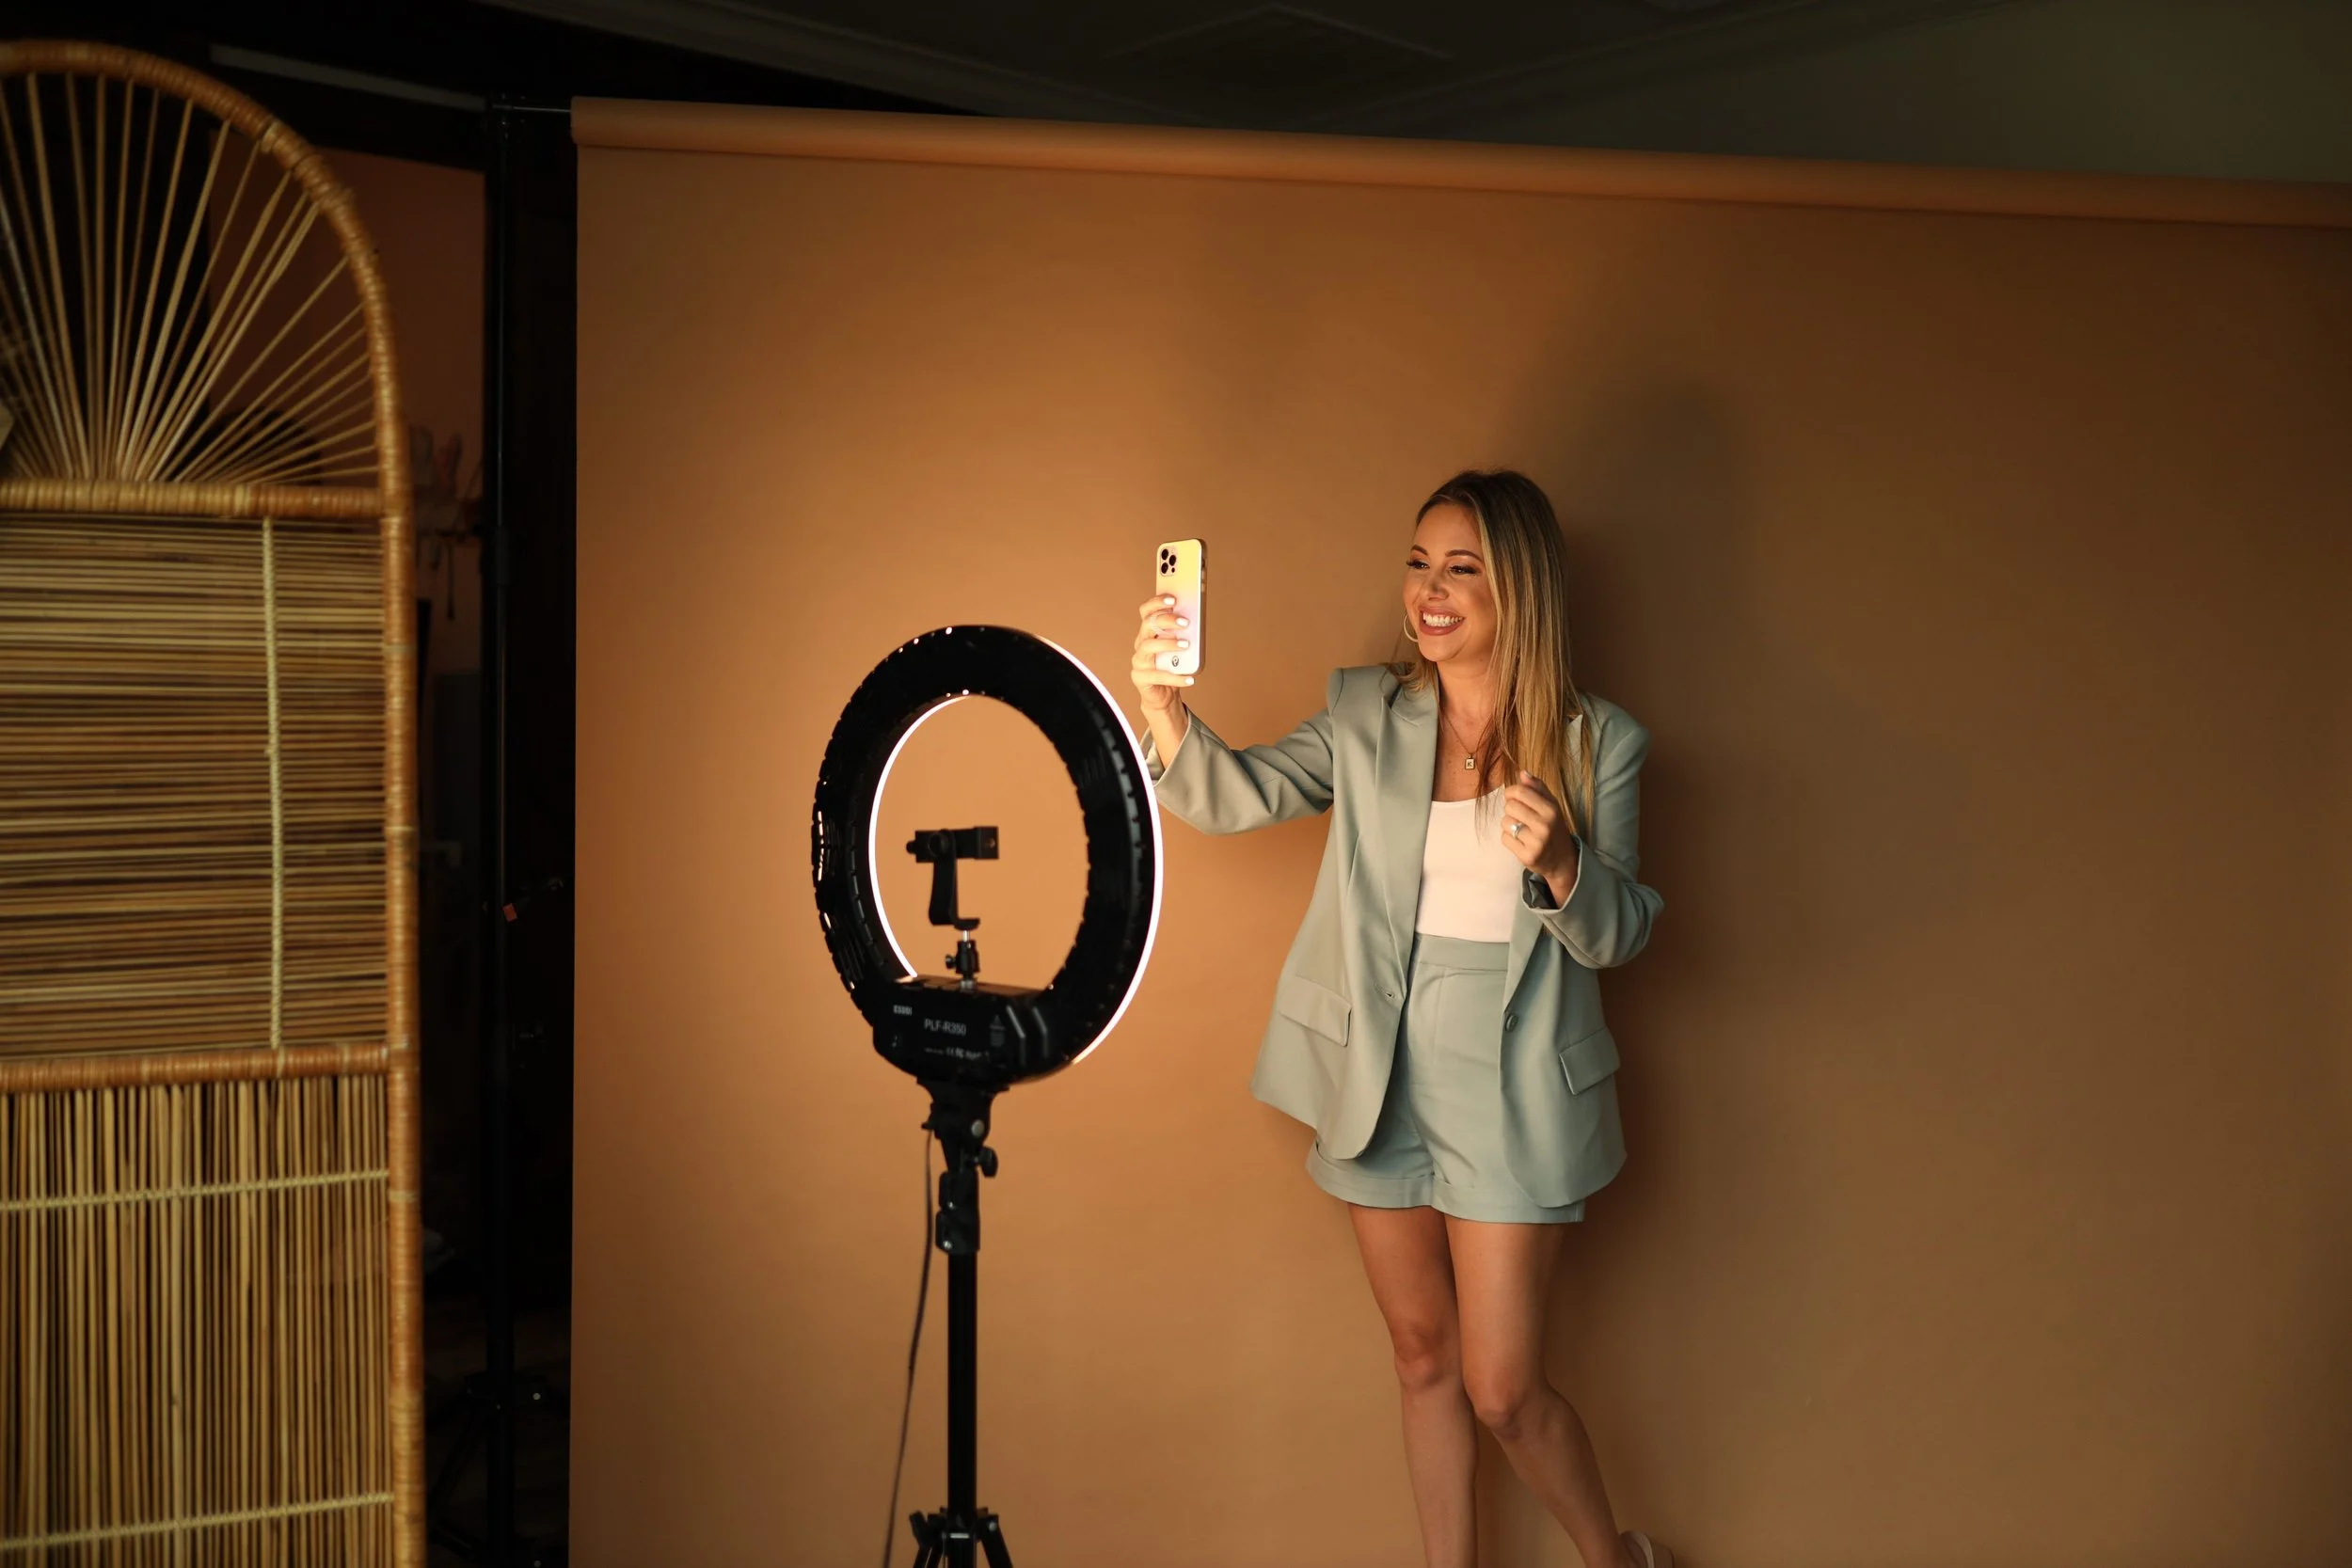
How to edit Instagram Reels like a pro using simple tools that save time, improve video quality, and make your content more engaging.
If there's one thing you should know about me, it's that I create A LOT of content.
Between running my marketing agency, hosting the Call Her Creator podcast, building my personal brand, and being a mom, I'm constantly filming something.
And guess what? I'm not sitting in a perfectly quiet studio with a professional production crew every time I record a Reel.
Sometimes my kids are in the background. Sometimes someone is vacuuming outside my office door. Sometimes I'm recording a voiceover in the five minutes I have before my next meeting.
Sound familiar?
After spending more than 15 years in marketing, building my Instagram audience to over 250,000 followers, and helping business owners grow their visibility online, I've learned something important:
Your content doesn't need to be perfectly produced. It needs to be worth watching.
And a few simple editing tricks can make a HUGE difference.
That's why I've been loving Instagram's Edits app.
If you've been searching for an easy way to edit Instagram Reels without spending hours learning complicated software, I'm sharing six of my favorite Instagram Edits features that can instantly elevate your content.
And don't worry. You don't need to be a professional video editor to use them.
What Is the Instagram Edits App?
Before we get into my favorite tools, let's cover the basics.
Edits is Instagram's dedicated video editing app, designed to help creators film, edit, and produce videos directly from their phones.
You can trim clips, add captions, record voiceovers, improve audio, add text, and create more polished videos without bouncing between multiple editing apps.
You can even export your finished videos without an added watermark, which is helpful if you're repurposing content across different platforms.
But my favorite part?
You can make really good content without making editing your entire personality.
Here are the six features I'd recommend learning first.
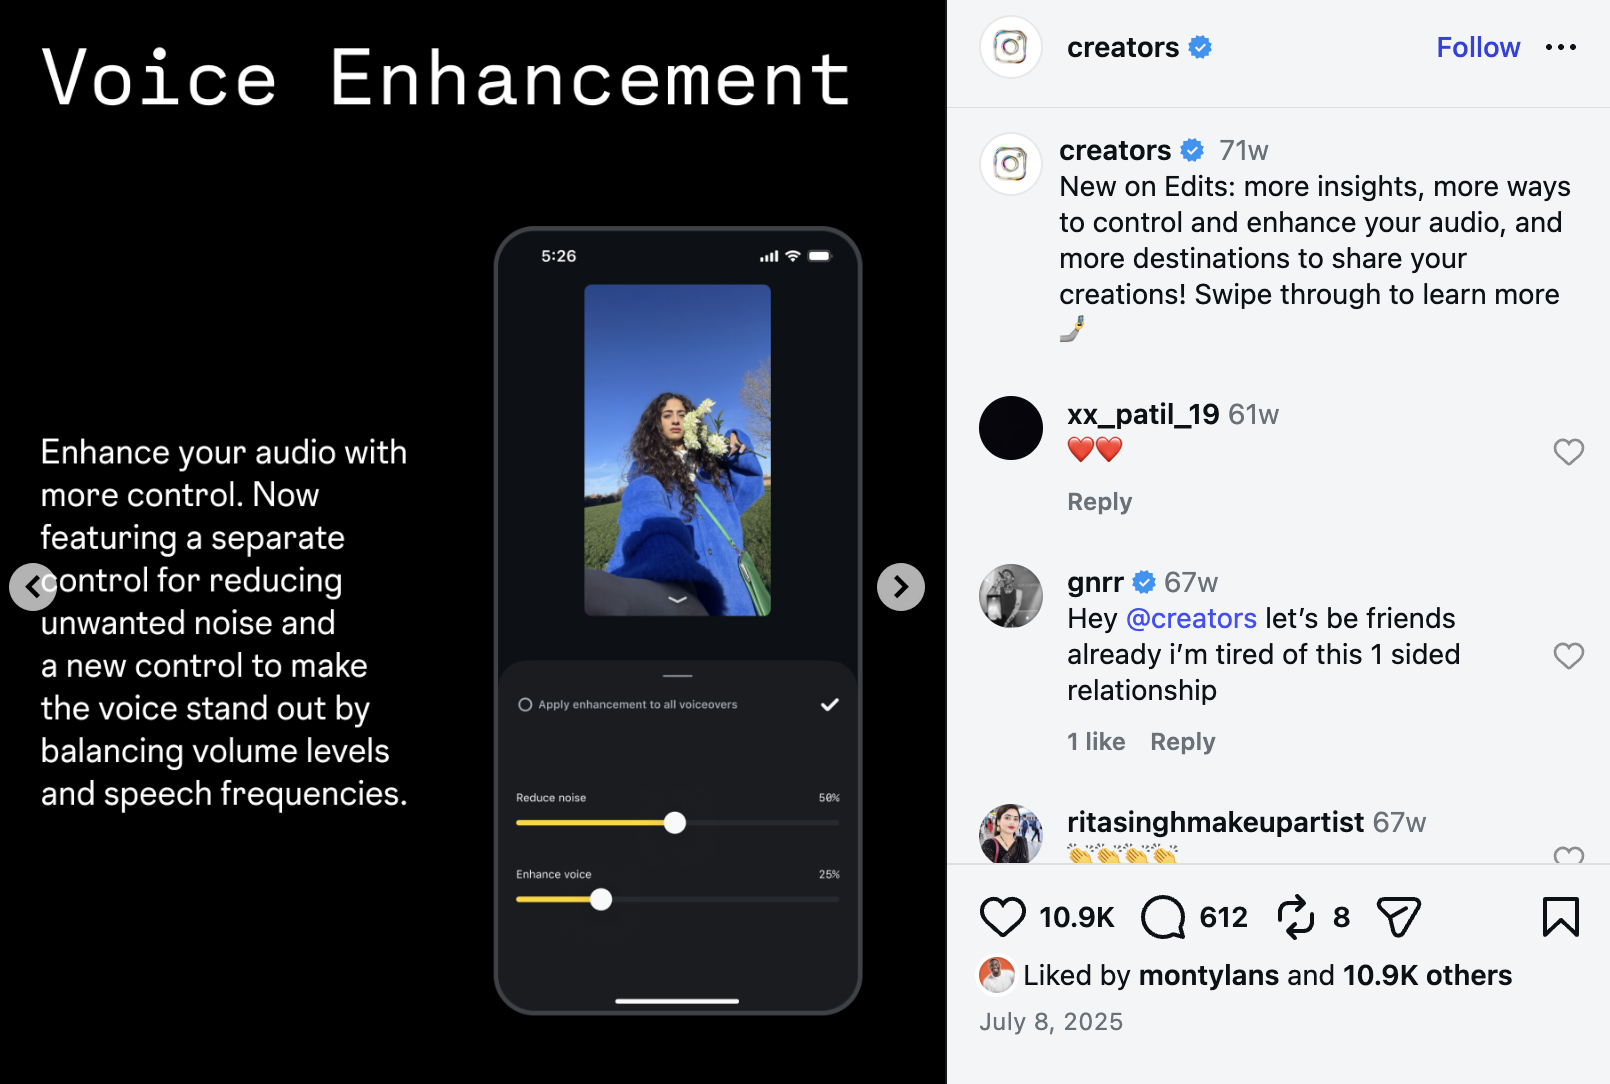
Photo courtesy of instagram creators account
1. Voice Enhance: My FAVORITE Instagram Edits Feature
Okay, if you only take one thing away from this blog, let it be this.
PLEASE start using Voice Enhance.
This might genuinely be my favorite feature inside Instagram Edits.
Here's why.
As women, we're multifaceted. We're running businesses, raising kids, managing households, answering emails, and somehow trying to squeeze content creation into the middle of it all.
And sometimes, that means filming a Reel while your kids are playing in the next room or recording a voiceover while the cleaning lady is vacuuming outside your office.
Been there. 😂
Voice Enhance is designed to make your voice sound clearer while reducing distracting background noise.
Think of it as giving your audio a little professional cleanup without buying an expensive microphone or learning audio engineering.
How to use Voice Enhance in Instagram Edits
Open the Edits app and start a new project.
Import your video or record your voiceover.
Select the clip or audio track you want to improve.
Find the Voice Enhance or audio enhancement option in the editing tools.
Apply the enhancement and listen to the difference.
Preview the full clip before exporting.
Depending on your app version and the audio you've selected, the exact controls may look slightly different.
What I love is how simple it is.
You don't need to adjust 15 different audio settings. You can improve the clarity of your recording with just a few taps.
My tip: Voice Enhance is especially useful for talking-head Reels, tutorials, voiceovers, and educational videos where people need to clearly understand what you're saying.
One thing to remember: it's not magic. Really loud background noise can still interfere with a recording. But for everyday distractions, this feature can make a noticeable difference.
[WATCH MY REEL: How I Use Voice Enhance in Instagram Edits]
Seriously, try this on your next Reel and listen to the before and after.
2. The Split Button: Stop Making People Watch the Awkward Pauses
You know when you're recording a Reel and you forget what you're saying?
Or your kid walks into the room.
Or you pause for five seconds trying to remember your next point.
Or you say "ummm" approximately 47 times.
Yeah. We don't need to leave all that in. 😂
This is where the Split tool becomes your best friend.
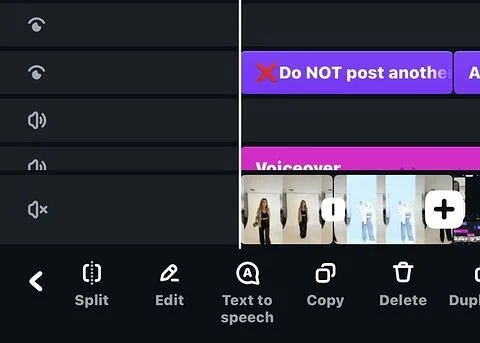
The Split button lets you divide one video clip into smaller sections so you can remove unwanted moments without deleting the entire recording.
And this is especially helpful for talking-head videos.
How to use the Split tool
Let's say you recorded a 45-second video, but there's an awkward four-second pause in the middle.
Here's what you do:
Open your video in Instagram Edits.
Tap the video clip in your editing timeline.
Move the playhead to the beginning of the section you want to remove.
Tap Split.
Move the playhead to the end of that unwanted section.
Tap Split again.
Select the unwanted middle section and delete it.
Play the remaining clips to make sure the transition sounds natural.
That's it!
You've removed the awkward pause without recording the entire video again.
You can use this same process to cut out mistakes, repeated sentences, dead air, or moments where you're reaching for your phone.
Why this matters for Instagram Reels
People are scrolling FAST.
If your Reel takes too long to get to the point, you risk losing their attention before you've delivered the value.
Removing unnecessary pauses can help your content feel more intentional and easier to follow.
But here's my personal advice.
Don't edit out every single breath or pause.
You still want to sound like a human being.
The goal isn't to make your content robotic. It's to remove the parts that aren't adding anything to the message.
3. Automatic Closed Captions: Make Your Reels Watchable Without Sound
If you're creating talking-head Reels and you're not adding captions, this is your sign to start.
Think about how often people scroll Instagram while they're doing something else.
They're sitting in a waiting room, lying in bed next to a sleeping spouse, taking a quick break at work, or scrolling while their kids are watching television.
Sometimes they simply don't want to turn their sound on.
And if your entire message depends on someone listening to your audio, you could be missing an opportunity to connect.
Captions help viewers understand your message even when their sound is muted. They're also useful for accessibility and for anyone who finds it easier to follow spoken content with text.
How to add automatic captions in Instagram Edits
Open your video project.
Find the Captions tool.
Let the app automatically transcribe your spoken audio.
Review the generated text for mistakes.
Choose a caption style that fits your content.
Position the captions where they're easy to read.
And PLEASE review your captions before posting.
Automatic transcription is helpful, but it can still misunderstand names, industry terminology, and the occasional Southern accent. 😂
My favorite caption tip
Keep your captions easy to read.
I personally prefer captions toward the lower portion of the video, but not so low that Instagram's buttons or caption area cover them.
Use a readable font, enough contrast against the background, and a style that doesn't compete with the message.
Your captions should make your video easier to consume, not harder.
4. Text Overlays: Give People a Reason to Stop Scrolling
Let's talk about one of the biggest mistakes I see business owners make with Reels.
They start talking before giving people a reason to care.
Friend, your first few seconds matter.
And this is why I love using text overlays.
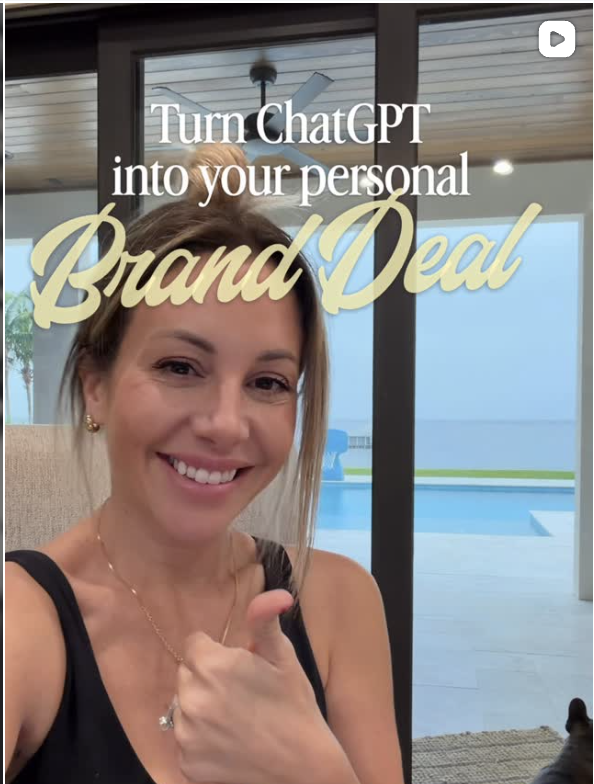
A text overlay is simply text that appears on top of your video.
You can use it to introduce your topic, create curiosity, emphasize an important point, or tell viewers what they're about to learn.
For example, instead of starting a video with:
"Hey guys! Today I wanted to share a few Instagram tips..."
Try putting this on the screen:
"Your Instagram bio might be costing you clients."
See the difference?
One is an introduction.
The other gives someone a reason to keep watching.
How I use text overlays
Inside Edits, select the Text tool, write your hook, choose a readable style, and adjust how long the text stays on screen.
I recommend keeping your opening hook visible long enough for someone to actually read it.
You can also use additional text overlays throughout the Reel to highlight key points.
For example:
Mistake #1
Here's what to do instead
Save this for later
Don't overload the screen with paragraphs.
Your video should be easy to understand at a glance.
And remember: a great hook doesn't have to be dramatic or controversial. It just needs to give the right person a reason to care.
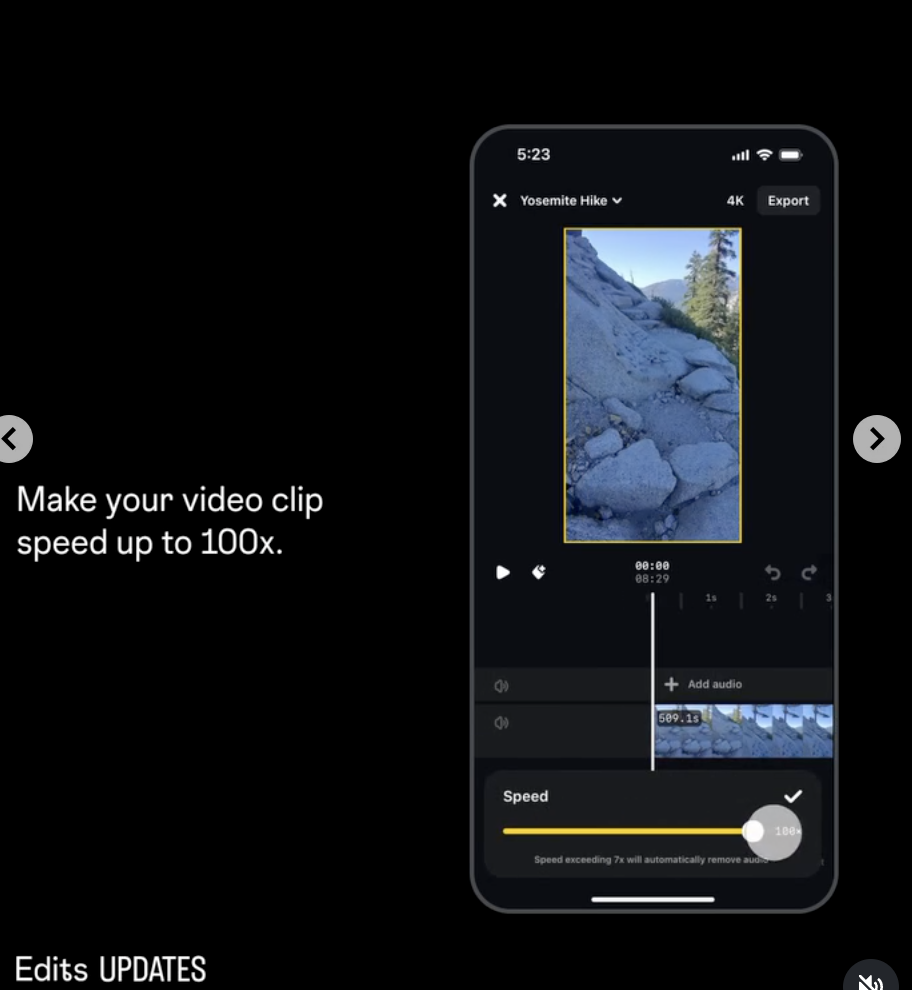
Photo courtesy of instagram creators account
5. Speed Adjustments: Make B-Roll More Interesting
If you're a business owner who doesn't always want to talk directly to the camera, this one's for you.
I love using B-roll.
B-roll is the extra footage you capture throughout your day.
Think pouring coffee, opening your laptop, packaging orders, walking into your office, getting ready for a meeting, or working behind the scenes.
It's one of the easiest ways to create content without filming an entirely new talking-head video.
But sometimes B-roll can feel a little slow.
That's where speed adjustments come in.
How to adjust clip speed
Select the clip you want to edit, find the Speed controls, and adjust the playback speed.
You can speed up a clip to make a repetitive action move faster or slow it down to emphasize a specific moment.
For example, if you're filming yourself setting up your desk, you probably don't need to show the entire process in real time.
Speeding it up can help keep the video moving.
On the other hand, slowing down a short clip of a product reveal or an exciting moment can add a little visual interest.
My advice? Use speed intentionally.
You don't need every clip moving at lightning speed.
Choose the pacing that fits your message and the mood you're trying to create.
6. Transitions: Make Your Reels Feel More Polished
Last but not least, let's talk transitions.
A transition is how your video moves from one clip to the next.
And while I don't think every Reel needs fancy effects, a few simple transitions can make your content feel more cohesive.
Instagram Edits includes tools for creating transitions between clips, so you can experiment without needing a separate editing app.
When I recommend using transitions
Transitions are especially helpful for:
Before-and-after videos
Behind-the-scenes content
Product demonstrations
Day-in-the-life Reels
Outfit changes or location changes
For example, let's say you're creating a Reel about your morning routine as a business owner.
You could film yourself making coffee, opening your laptop, reviewing your calendar, and heading into a meeting.
Instead of letting every clip feel disconnected, a simple transition can help the video flow.
But here's where I want you to be careful.
Just because an editing feature exists doesn't mean you need to use it.
Some of the best-performing content is incredibly simple.
A strong message, clean cuts, and a compelling hook will often do more for your content than a dozen flashy effects.
Use transitions to support the story, not distract from it.
My Biggest Instagram Reels Editing Tip? Stop Overcomplicating It.
After years of creating content for myself and helping clients do the same, I can tell you that the biggest thing holding many business owners back isn't their editing ability.
It's the belief that their content has to be perfect before they can post it.
They spend hours adjusting fonts, re-recording sentences, and second-guessing every little detail.
Meanwhile, someone else is showing up consistently, sharing their expertise, and building relationships with potential customers.
And that's the part I really want you to understand.
Your goal isn't to become a professional video editor. Your goal is to become KNOWN for what you do.
The Instagram Edits features I've shared here are tools to make that easier.
Voice Enhance helps people hear you clearly.
Split helps you remove unnecessary pauses.
Captions make your content easier to follow.
Text overlays help capture attention.
Speed adjustments and transitions help your videos flow.
But none of those things replace having something valuable to say.
Which brings me to something I teach my clients and students.
Visibility is an opportunity. But you have to give people a reason to pay attention.
That's why I'm so passionate about helping business owners create content that doesn't just look good but actually supports their business goals.
Because the ultimate goal isn't simply getting more views.
It's building a personal brand that attracts the right people, earns their trust, and creates opportunities to get paid for your expertise.
Want to Get Better at Instagram Reels and Personal Branding?
If you're ready to stop guessing what to post and start building a personal brand that gets you SEEN, KNOWN, and PAID, I'd love to help.
Inside my content and personal branding trainings, I teach the strategies I use to create content consistently, build authority, and turn visibility into business opportunities.
And you don't need a huge following or expensive equipment to start.
You just need the right strategy and the willingness to show up.
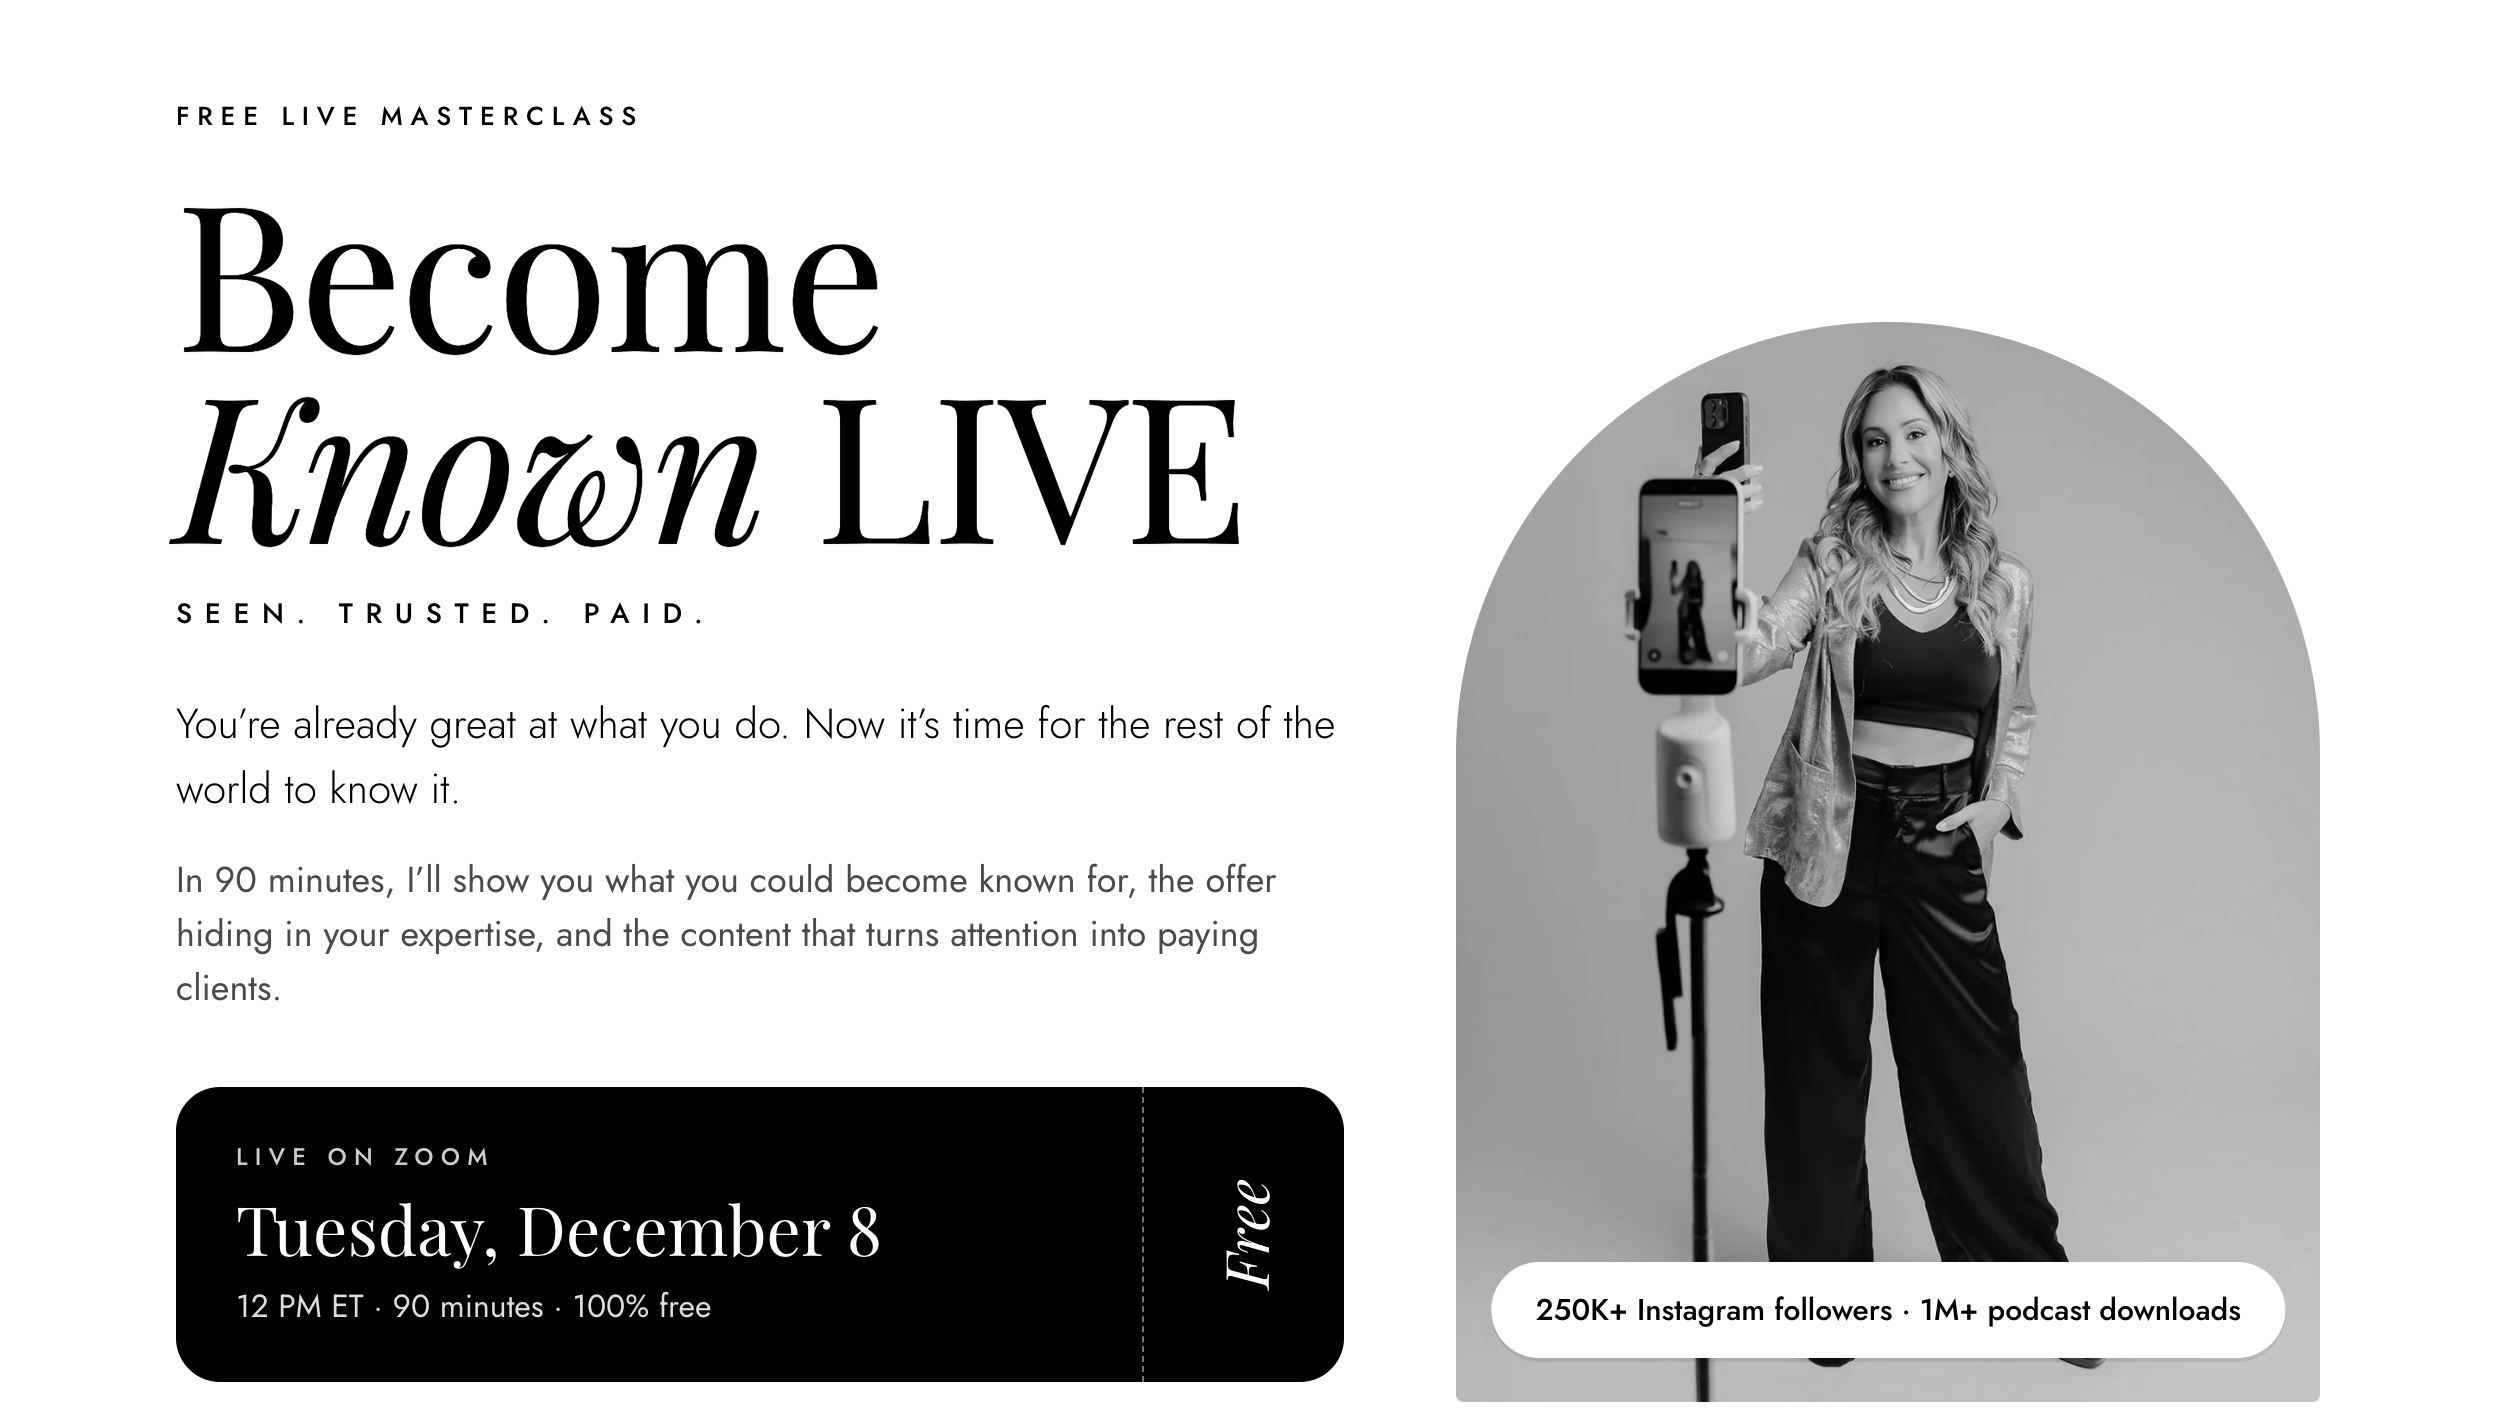
Join my FREE training: Become Known Live: In 90 minutes I’ll show you how to use instagram to get known and Paid
And if you try one of these Instagram Edits features, come find me on Instagram at @thekatelynrhoades and tell me which one you love most.
My vote is still Voice Enhance. Every. Single. Time. 😂
Xo,
Katelyn
